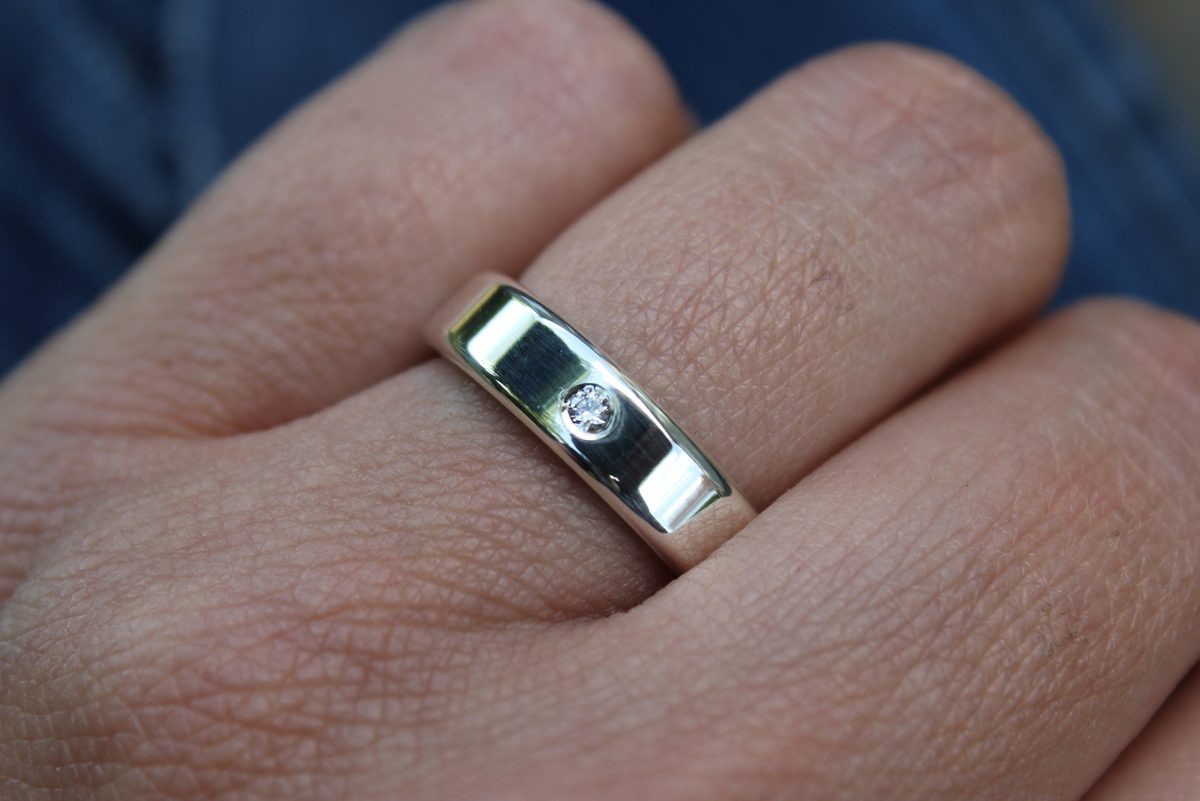
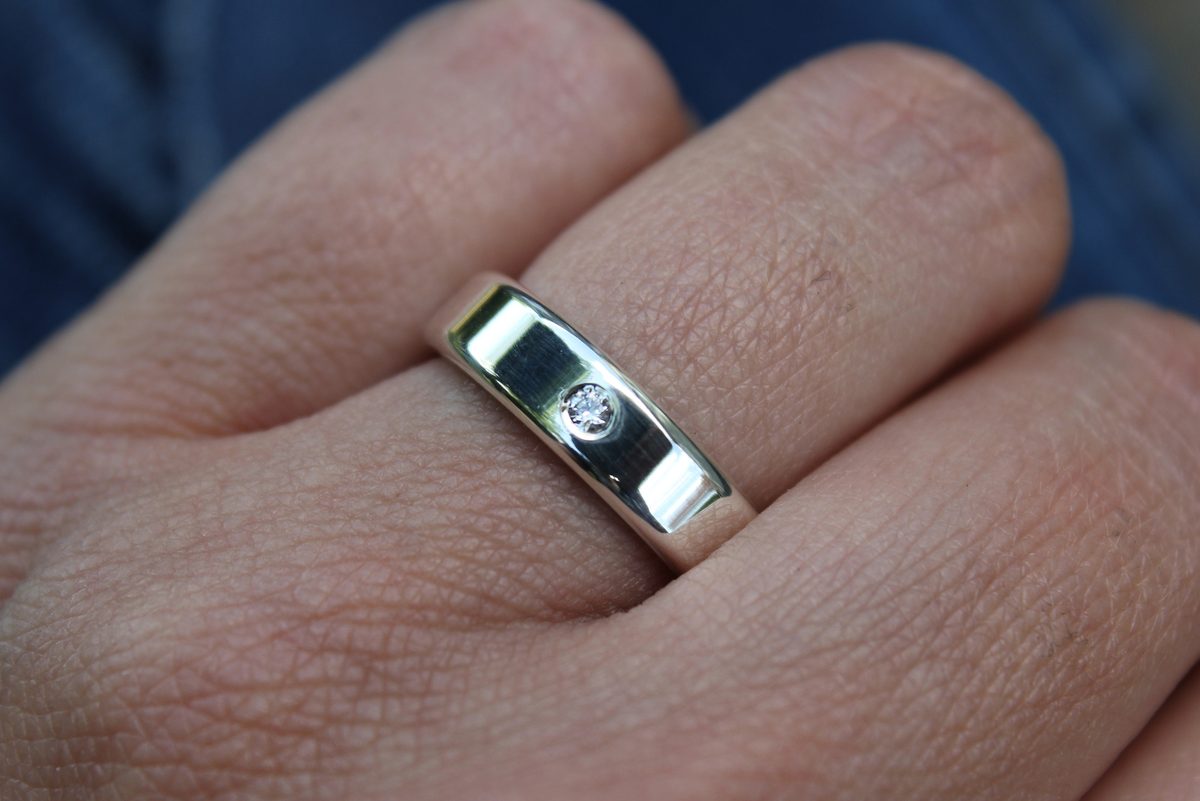
What you'll need:
- A round, facetted gemstone (up to 4 mm)
- Silver or gold, thick enough to hold your stone
- Calipers
- Drill, ball burrs and setting burrs in the correct sizes
- A clamp or some protoplast to hold your jewelry
- A burnisher
- A magnifier
- Polishing materials to clean up your piece after setting the stone
Tip: Check your stone first
Not every gemstone is suitable for flush setting. You want to choose a stone that can handle pressure and isn't easy to scratch. A small diamond or sapphire is a good choice for learning this technique.
Step 1: Measuring
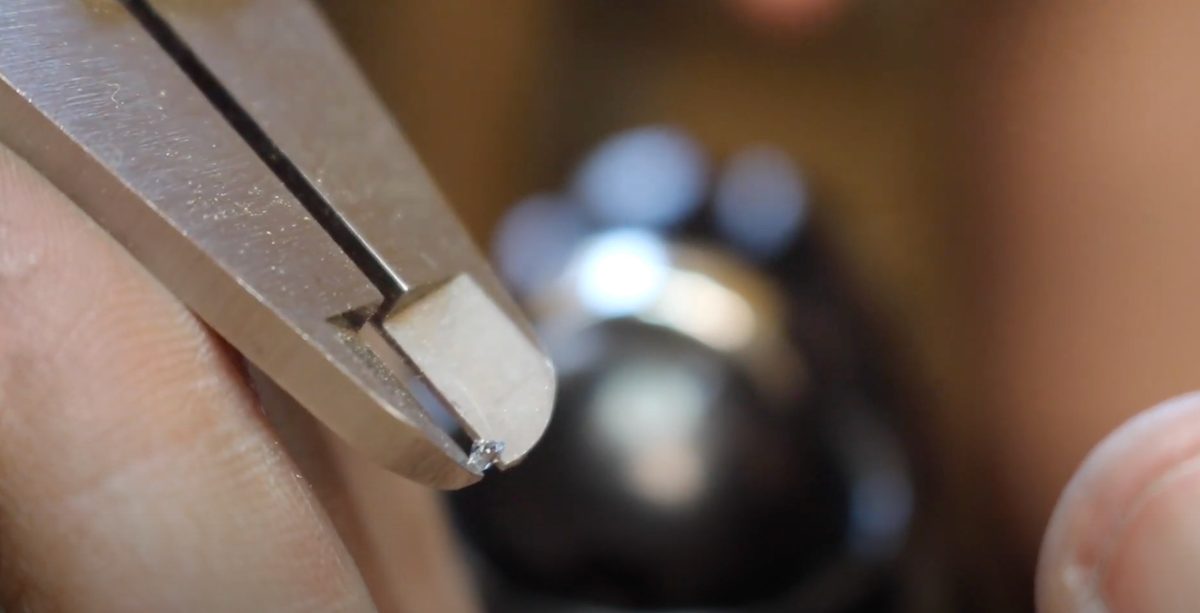
Before picking up your drill, measure the gemstone with your calipers. This will help you decide which drill and burrs you'll need. For example, when setting a 2 mm gemstone, I use:
A 1 mm drill to create the initial hole
Ball burrs from 1.2 to 1.7 mm to open up the top part of the hole
A 1.9 mm setting burr to create the seat for the stone
Notice that the setting burr is slightly smaller than the gemstone itself. This is important because you want your stone to fit in there tightly, without any room to move around. The exact sizes may vary a little depending on your gemstone, so always check the fit as you work.
Step 2: Marking
Decide where you want to place your gemstone. You can use your compass to easily pinpoint the centre of your piece. Take your time to measure and mark the exact spot where you want to drill.
Step 3: Drilling
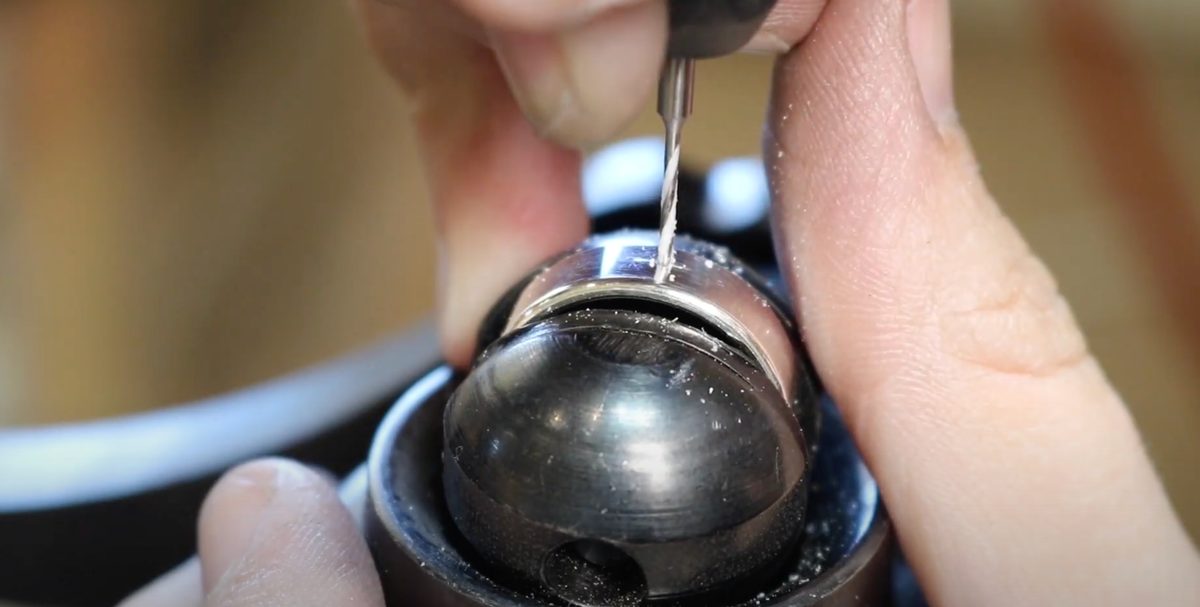
Before drilling, I like to make a small indentation using a ball burr. This gives the tip of my drill somewhere to sit and prevents it from slipping across the surface of the metal. Secure your jewelry in a clamp so it can't move while you're working. Now take your drill and carefully drill through the metal. Try to keep your drill straight, as this will make the next steps much easier. Drilling all the way through your piece of jewelry gives you access to the back of the gemstone, which will come in handy when checking your setting later on.
Step 4: Creating the seat
Now it's time to make some room for the gemstone. Start with your ball burr to widen the hole. In my example, I'm starting with a 1.2 mm ball burr and increasing the size up until a 1.7 mm ball burr (for a 2 mm gemstone). Carefully remove metal to approximately two-thirds of the depth of the drilled hole, keeping your burr straight as you work. Take your time and avoid removing too much metal at once.
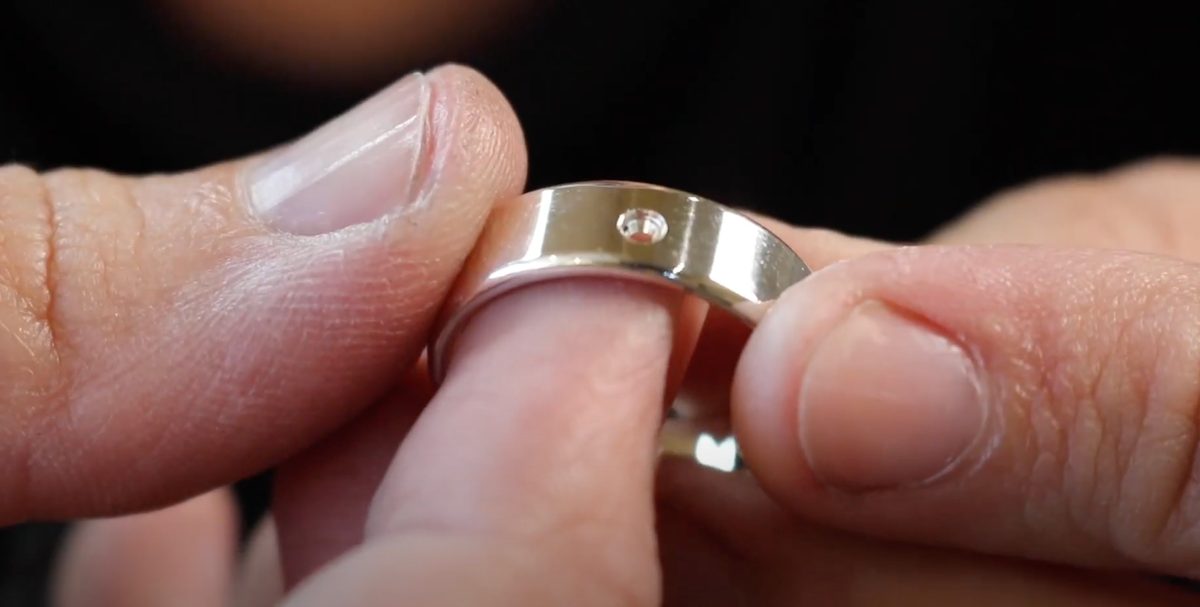
Next, switch to your setting burr. This burr has a shape that matches the profile of a round, faceted gemstone, allowing you to create a small seat for it. The idea is to create a tiny ledge inside the hole for the gemstone to rest on. If you look closely you can see this ledge in the picture below. Keep checking your progress. You want the stone to sit at the correct depth, with its girdle, the widest part of the gemstone, just below the surface of the metal.
Step 5: Checking the fit
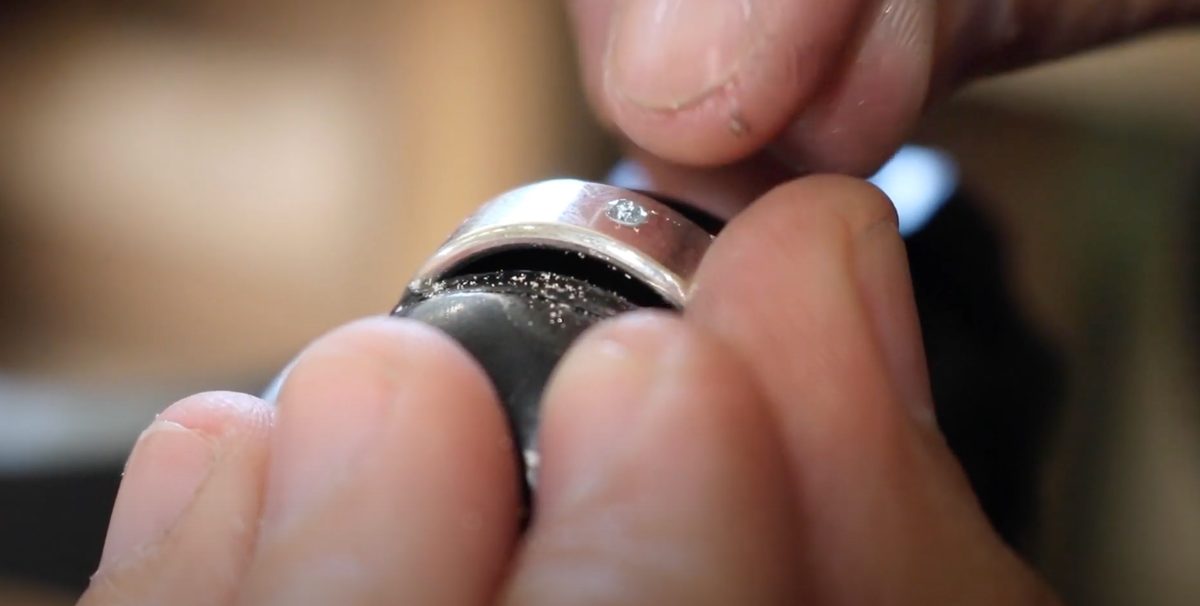
This is an important step, so don't rush it. Place your gemstone into the seat you've created. Make sure to enter it straight down. It should fit tightly, without wobbling or moving at all. You want to 'snap' it in place, preferably with a little push. If your gemstone is loose, the setting won't work properly. The metal needs to be close enough to the stone to hold it securely once you start burnishing. Take a good look at your stone from different angles. The girdle should be buried in the metal, while the table, the flat top of the gemstone, should sit just slightly above the surface. Make sure your gemstone is leveled and not tilted to one side. If this isn't the case, carefully adjust the seat with your burr.
Step 6: Preparing your burnisher
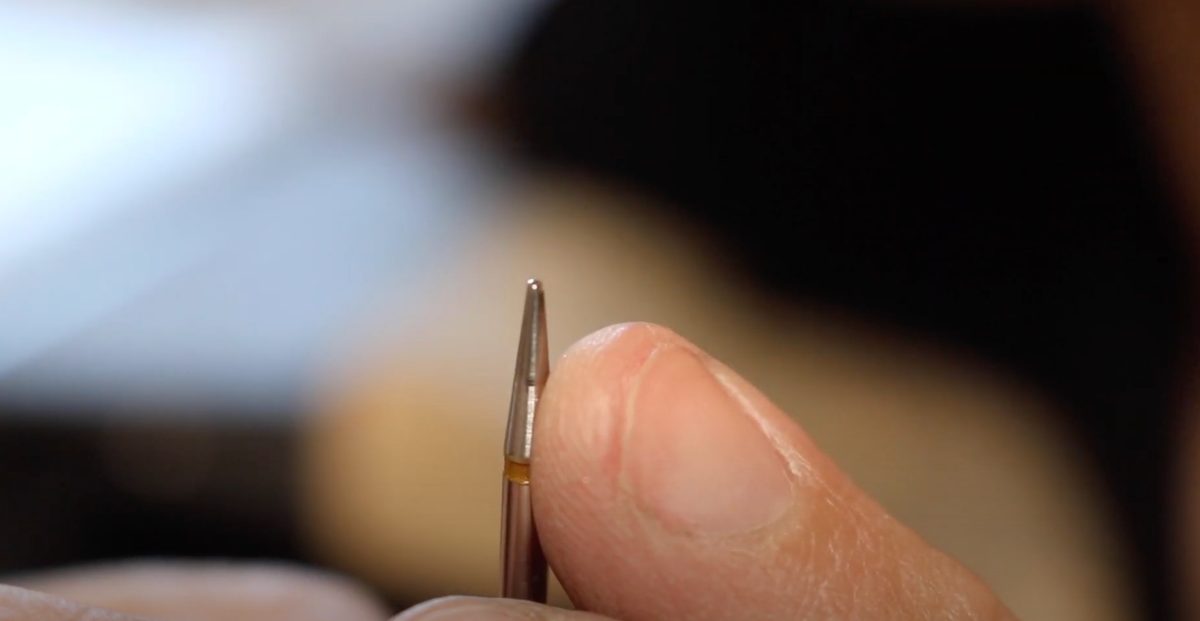
For flush setting, I use a burnisher. This is a small, polished steel tool that allows me to push / burnish the metal over the edge of the gemstone. You can buy a burnisher, but you can also make one yourself from an old drill bit or burr. You can find a couple of videos on my Patreon channel where I show you how to make a burnisher. Shape the tip so that it tapers towards the end, with a slightly rounded point. It shouldn't be sharp, because you don't want to scratch or cut into the metal. Make sure the tip is polished to a high shine. Any scratches or rough spots on your burnisher can transfer directly onto your jewelry. A little tip: a champagne cork makes a great handle for a homemade burnisher!
Step 7: Setting the stone
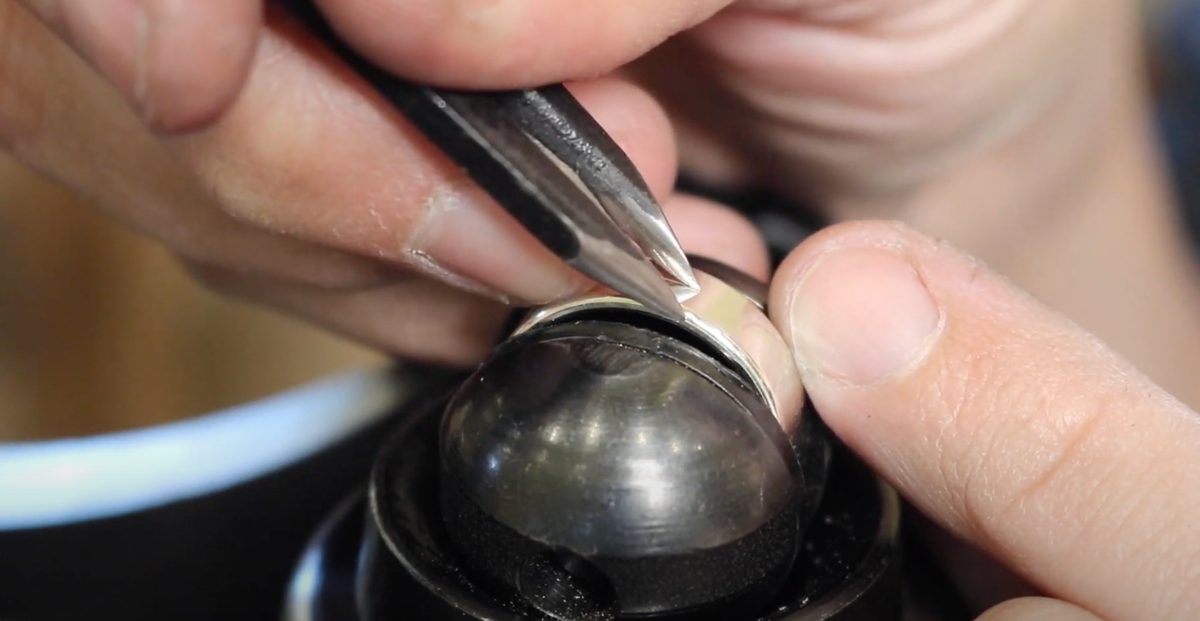
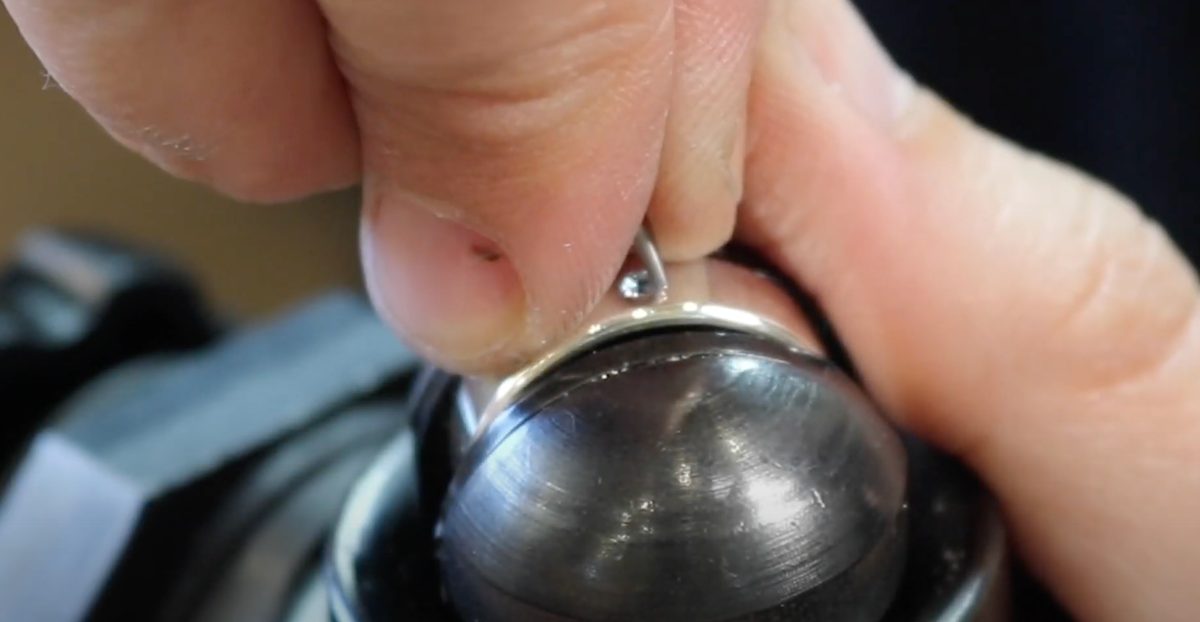
Now for the actual setting. If you look closely, you'll see a very small area of metal between the edge of your gemstone and the surrounding surface. This is where you'll place the tip of your burnisher. You do not want to touch the gemstone itself. Hold your burnisher fairly straight and start moving it around the stone in a smooth, circular motion. Begin with gentle pressure and gradually increase it as you work your way around the gemstone. What you're doing is pushing the surrounding metal towards and slightly over the edge of the stone. The metal is being compressed and moved into that tiny space around the gemstone. As you continue burnishing, you'll notice a shiny ring of metal appearing around the stone. This is exactly what you're looking for.
That small amount of metal overlapping the edge of the gemstone is what keeps it securely in place. You don't need a lot of metal, just enough to hold the stone without covering too much of it. Keep working your way around the gemstone until you've created an even, shiny outline.
Step 8: Checking your setting
Before calling it finished, take a good look at your work. Use a magnifier to check whether the metal has been pushed evenly over the edge of the gemstone. Pay attention to any areas where the metal might not have moved far enough. If everything looks good, it's time to check whether your stone is securely set. Because we drilled all the way through the metal earlier, we can reach the back of the gemstone. Take a wooden toothpick and gently push against the back of the stone a couple of times. You're not trying to force it out, just checking whether there's any movement. If your gemstone stays firmly in place, you've done it! If it moves, take another look at your setting to see what needs adjusting. Flush setting takes a bit of practice, especially when you're working with very small stones. You will get the hang of it. Remember: practice makes perfect.